
Scan to BIM step by step: how a building becomes a Revit model
What actually happens between the site visit and the model delivery? The full Scan-to-BIM workflow — capture, registration, modeling and QA — explained without jargon.
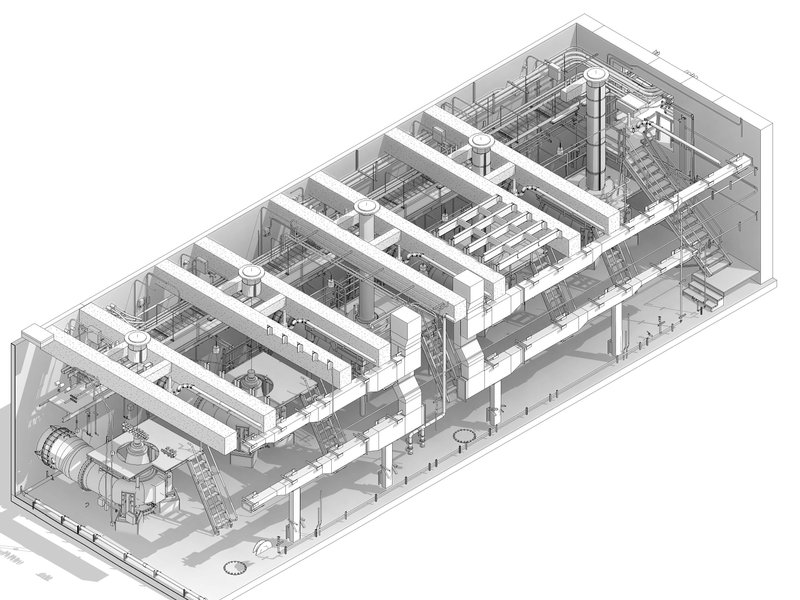
Clients ask us this every week: what exactly happens between "you scan my building" and "here is your Revit model"? Here is the complete workflow, step by step, with the checkpoints where quality is won or lost.
Step 1 — Capture planning
Before any laser fires, we plan scan positions on the floor plan: what needs line-of-sight, where targets go, which areas need closer range for detail. A well-planned capture is the difference between 60 setups and 100 for the same building — and it is why our Miami team once completed 121 scan positions in a single day.
Step 2 — On-site scanning
The Leica RTC360 captures up to 2,000,000 points per second with HDR imagery, pre-registering scans in the field as we move. Occupied buildings, live plants and night windows are normal working conditions — the laser scanning service is designed around them.
Step 3 — Registration and verification
Back at the office, all scans are registered into one coordinate system, tied to survey control where the project requires it, cleaned of noise (people, vehicles, reflections) and verified. The output is a registered point cloud with a documented registration report — the evidence layer for everything that follows.
Step 4 — Modeling by discipline
Modelers build architecture, structure and MEP-F in Revit from the measured points — not from assumptions. Each element is placed at its real position and orientation, at the LOD the project specified (see LOD 200 vs 300 vs 400 for how to choose).
Step 5 — QA against the cloud
Every model runs a verification pass against the point cloud: tolerance checks per discipline, clash review, naming and parameter standards. Deviations beyond the agreed tolerance are corrected or flagged — the QA trail ships with the deliverable.
Step 6 — Delivery
You receive the model (RVT), open-format exports (IFC), coordination sets (Navisworks) and the point cloud itself (E57/RCP — our formats guide explains which to request). Anyone on your team can verify any dimension, forever.
The whole point
The workflow exists so that the model is not an artist's impression — it is a measurement instrument. If a wall is 210 mm out of plumb, the model says so, and your design team works with reality instead of discovering it during demolition. Send us your project and we will return a capture plan and quote within one business day.
Ready to scan your project?
Send us your site and scope — we reply with a technical quote within one business day.
Get a free Quote