
Scan to BIM: LOD 200 vs 300 vs 400, Which Level Does Your Project Need?
The level of development you specify defines the cost, the schedule and whether the model is actually usable. A practical guide to choosing LOD without overpaying.
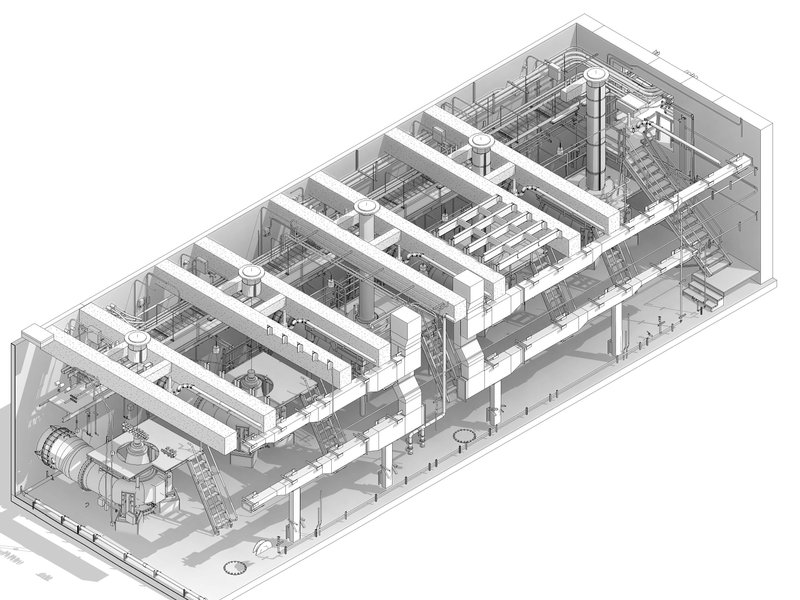
"We need a BIM model of the building." That sentence has started more budget disputes than any other in our industry. The missing word is LOD — Level of Development — and it is the single most important specification in any Scan-to-BIM request. Get it right and you pay exactly for what you need. Get it wrong and you either overpay for detail you will never use, or receive a model that cannot do its job.
What LOD actually means
LOD describes how much you can rely on a model element — its geometry and the information attached to it. In Scan-to-BIM work, three levels cover almost every real project:
LOD 200: the study model
What it is: generalized geometry — approximate size, shape and location. Walls are walls, but do not measure a door schedule off them.
What it is for: feasibility studies, space planning, area calculations, early massing decisions and marketing visuals.
What it costs: the entry level. Fast to model, light to handle.
The trap: using an LOD 200 model to coordinate trades or produce construction documents. It was never meant for that, and the tolerances will bite you.
LOD 300: the renovation standard
What it is: precise geometry — accurate size, shape, location and orientation, modeled from the point cloud, measurable and verifiable. This is where our ±2 mm class capture with the Leica RTC360 earns its keep: the model is only as reliable as the data behind it.
What it is for: design development, construction documentation, quantity takeoffs and clash detection against new design. If you are renovating or retrofitting, this is almost always the level you need.
What it costs: the mid range — most of the modeling effort goes here, and it is where cost per square foot varies most with building complexity.
LOD 400: fabrication detail
What it is: fabrication-ready elements with connections, hangers and assembly detail.
What it is for: prefabrication, complex MEP retrofits, steel detailing — places where parts are manufactured off the model.
The trap: specifying LOD 400 "to be safe." It can double or triple modeling cost, and 90% of that detail is irrelevant to a typical renovation. Specify it only for the systems that genuinely need it.
The pro move: mixed LOD by discipline
The best RFPs we receive do not pick one number for the whole building. They specify per discipline, for example: architecture at LOD 300, structure at LOD 300, existing MEP at LOD 200 for routing reference, and the mechanical room being retrofitted at LOD 350/400. You pay for precision exactly where precision pays you back.
Specify it in one line
Write this into your next RFP: "Deliverable: Revit model from point cloud, LOD 300 for architecture and structure, LOD 200 for existing MEP-F, accuracy class ±2 mm verified against survey control, delivered as RVT + RCP + IFC." One sentence, zero ambiguity, comparable quotes.
Not sure which mix fits your project? Send us your scope and we will recommend the LOD breakdown before you issue the RFP — it costs nothing and it usually saves a round of confusion.
Ready to scan your project?
Send us your site and scope — we reply with a technical quote within one business day.
Get a free Quote